Okay, if you are anything like me, you have piles and piles of the things your children (or you?!) create. I never know what to do with all of these things. The pieces are precious, but copious. It is a crime to throw them away (while your child is looking), but let’s face it we can’t keep every piece. When my oldest started preschool this past fall, I had to come up with a quick solution to this art situation. And it truly was becoming a situation.
You see, we were quickly amassing piles. Piles upon piles. We do a lot of art at home, too. So, add those piles to the piles and piles from school. We were living our lives in between the piles of kid art.
I am sure you have your own piles of art. Precious, but copious. Threatening to overtake your home. No? Just us? Hmmm…
Another thing I remembered from my days of studying Elementary Education (those days were rather short lived…), kids LOVE to see their work displayed. It makes them feel valuable and accomplished. (They also love seeing photos of themselves displayed in the home…it makes them feel wanted and it gives them a sense of place.) I can imagine if they LOVE to see their work displayed, then they must just be crushed to see it strewn about or worse, thrown away. So, a solution had to be found.
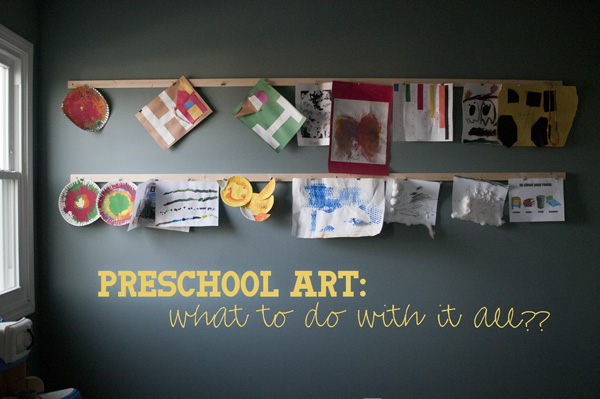
It just so happens the room my boys share has a huge and empty wall. It is the perfect place for an art gallery of sorts. A rotating art gallery.
Now, when we get a little pile going, we simply take it upstairs to display in the boys’ room. They love seeing their creations, and it really makes their room feel cheerful and creative. When we get a new stack, we simply take down the old ones. The boys can choose their favorites–and I put those in a drawer to keep. The rest the boys can choose to keep some themselves (but they have to take care and keep track of them, or choose to throw away or use in another craft). Then, we simply clip the new ones up. It’s a fun little process and we get to talk about the art they’ve created.
If you want to create your own rotating art gallery, simply do the following:
* get 1×2 pieces of plywood from the hardware store; you can have them cut down to the length you want. ours are a full 12 feet long.
* drill screws in at each end and in the middle. nothing that goes on is going to be very heavy, so if you can just get one screw into a stud you’re in good shape. :)
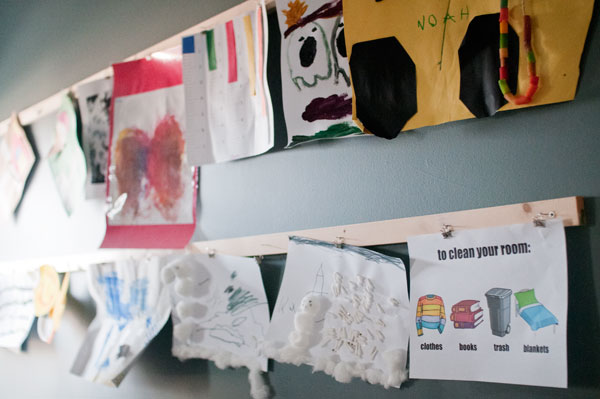
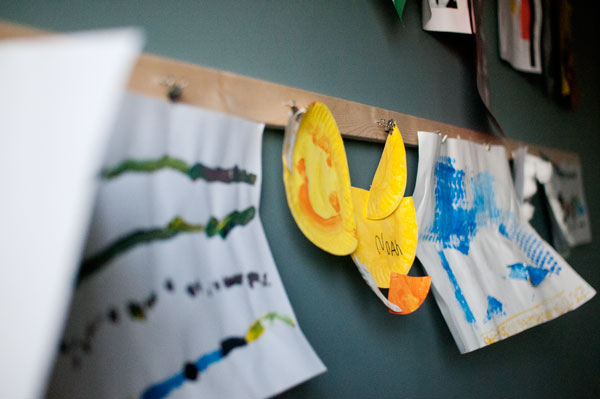
* nail little tack nails in periodically across the board.
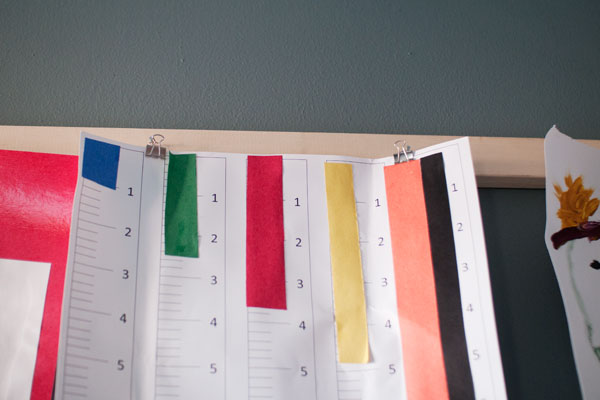
* hang a tiny binder clip on each nail.
* ta-da! you’re done! ready to hang your art!
* tips: i wanted to add another row, but i realized that put it low enough that the boys might be tempted to fiddle with the papers. i would assess your situation and make sure to put the boards high enough that you’ll feel comfortable at all times. we also tell the boys that this is not to touch, only to look at. also, space your boards at least 15 inches apart, so there is room for larger papers to hang.
You can see some of the lovely creations our boys have made. They are proud to see what they’ve done and love to show visitors who come to play!
This is a really simple, no fuss way to display the kids’ art. I’m sure you could make it more fancy and detailed if you’d like. It all depends on your taste! They have an unfinished wood IKEA bunk bed in their room so the unfinished plywood fits right in. I kind of love the simplicity of the look–and of course, I LOVE how easy it was to put up. It was finished in 15 minutes once I got home from the hardware store!
How do you store/manage your kids plethora of art? Any good tips for me that you could share?


